A home gym is convenient, private, and always open — and unsupervised. With no staff member to notice a loose bolt and no one to spot a heavy lift, a simple safety routine matters more at home than in a commercial gym, not less.
Work through this checklist in order: before you buy, as you set up, before each session, and when you put everything away. It does not replace common sense, manufacturer instructions, or qualified coaching. Its purpose is narrower: to catch avoidable problems — unstable footing, a worn band, a blocked exit, a weight left where someone can trip over it — before they become an incident.
This is general information, not medical advice. If you are new to exercise, returning after a break or an injury, or managing a health condition, get qualified advice before starting a new routine. Stop on sharp pain, dizziness, chest discomfort, or unusual discomfort, and seek appropriate medical attention if symptoms persist or worry you. Nothing in this guide promises a risk-free workout.
Before you buy: match the equipment to the space and the lifter
Safety problems often start at the point of purchase, when equipment is chosen for a routine that does not yet exist, in a room that has not been measured. Before ordering anything, answer three questions honestly. First, who will actually use it, and what movements will they do? Second, where will it live, both in use and in storage? Third, how will it be assembled, maintained, and eventually removed?
Read the HealthGearSpot first home gym hub for the wider starter-kit order, and test each item against your own situation before it arrives. Equipment that only works if you rearrange furniture, block a doorway, or skip assembly steps is not a good purchase, however good it looks in a product photo. Check the listing for assembly requirements, included parts, and return terms, and confirm doorway widths and delivery size and weight before ordering. If an item arrives damaged, incomplete, or with instructions you cannot follow confidently, do not improvise a fix. Contact the seller and wait for the correct parts or guidance.
Buy in stages: add equipment only after training consistently for several weeks and hitting a real limit of what you already own.
Space, flooring, and ventilation: build a room that forgives mistakes
A training area should be measured in use, not on paper. You need room to lie down, extend your arms, step sideways, and get on and off the equipment safely, plus clearance around and above it. The HealthGearSpot space-measurement guide explains how to measure a training area properly, including clearance, and it is worth working through before anything large is ordered.
Flooring is part of safety, not just decoration. A stable, non-slip surface under the whole training area gives your feet a predictable base. Mats and protective layers should lie flat, stay in place during use, and not curl at the edges where they become a trip hazard — reposition or replace a sliding or bunching mat before training on it. The HealthGearSpot floor protection guide covers what to look for.
Ventilation and temperature deserve the same attention. A stuffy, overheated room makes any session harder and can mask fatigue, so open a window or use a fan where possible, keep drinking water within reach, take breaks rather than pushing through feeling unwell, and keep lighting good enough to see the floor, equipment, and obstacles clearly.
Finally, keep the training area clear. Clutter is the thing you trip over while carrying a weight, so shoes, bags, cables, laundry, and toys do not belong in the training zone. Clear the area before you start, and make it part of the routine.
Equipment inspection: a two-minute habit before every session
Most equipment failures give warning signs, but only to someone who looks. A short inspection before each session takes about two minutes once it becomes routine.
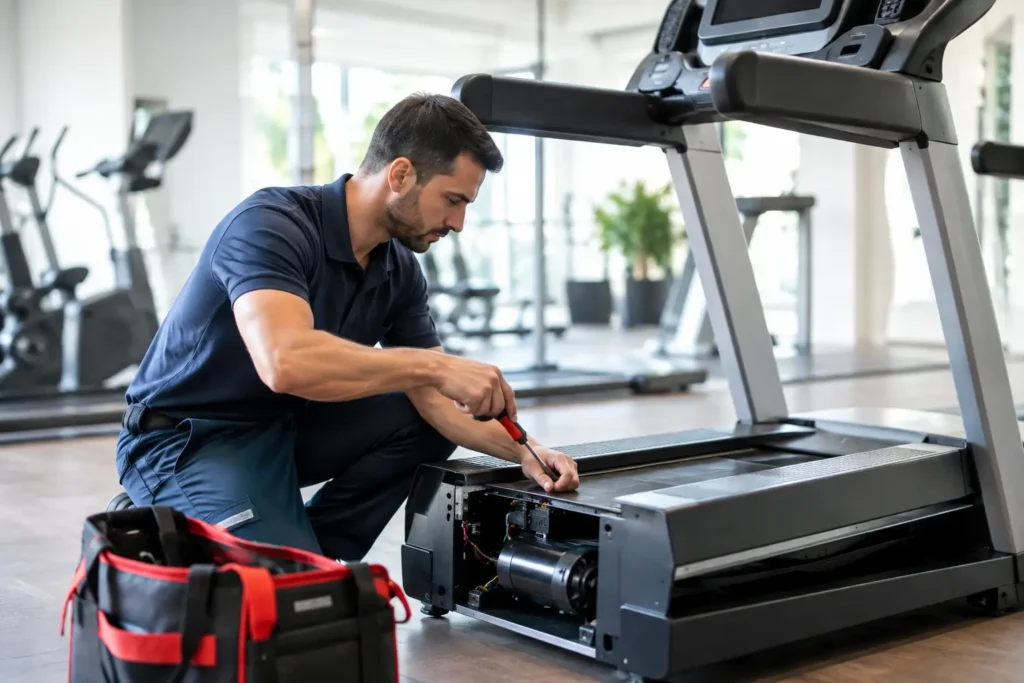
Check fasteners, pins, and adjustment mechanisms. Anything that locks, clicks, or slides into place should do so firmly and completely, every time. If a pin does not seat fully, a collar does not tighten, or a bench wobbles, stop and find out why before loading it. Recheck fasteners periodically, because vibration and repeated use can loosen them over time.
Check wear items with particular care. Resistance bands, straps, cables, and grips wear out, and they rarely fail without first showing cracks, fraying, thinning, or loss of elasticity. Inspect bands along their full length, including attachment points, and retire any band that shows damage. The HealthGearSpot resistance bands guide covers the different band types and how they differ, which helps you judge what normal wear looks like for the type you own.
Check moving and load-bearing parts for damage, rust, bending, or anything that does not move as it should, and listen for new rattles or looseness. Follow the manufacturer maintenance schedule rather than guessing. If a part is damaged or missing, take the equipment out of use until it is repaired or replaced with the correct part — a homemade substitute for a safety pin, cable, or fastener is not a repair.
Load progression: add load only when form and control allow
One of the most common home gym mistakes is adding load faster than technique and control can support. Increase load in small steps, only when the current load can be handled with controlled movement through the full range you intend to use. If form breaks down or you cannot lower the load under control, the load is too heavy for that session, whatever the plan said.
This applies to every tool, not just barbells. Adjustable weights, kettlebells, weighted vests, and bands all reward the same patience. The HealthGearSpot kettlebell weight guide and weight plates guide discuss how to think about load selection for those tools, and the weight-vest safety article covers the particular care needed when adding load to walking. Treat a new tool as a new skill: start conservatively, learn the movement, and only then progress.
Warm up before loaded work. A few minutes of easy movement that raises your temperature and rehearses the patterns you are about to train is time well spent, and it gives you a chance to notice stiffness, soreness, or anything that feels different from usual. If something feels wrong during the warm-up, that is information, not an obstacle to push through. Adjust the session, choose a lighter variation, or stop. Plan the session before you start, including what you will do if a lift does not go as planned.
Spotting and escape routes: never lift without a way out
At home, you may be entirely alone, which changes how heavy and ambitious a lift should be. Before any heavy or technically demanding lift, ask: if this rep does not go up, what happens next?
For bench and rack work, the answer should be built into the setup, not improvised mid-lift. Safety bars, spotter arms, and pins exist for exactly this situation, and they should be set at the correct height and tested with an empty bar before any load is added. The HealthGearSpot weight bench guide and power rack vs squat rack guide cover how these setups differ and what to consider when choosing between them. Whatever setup you use, practise the escape with a light load first, so the movement is familiar before it is ever needed for real.
If you train alone and have no safeties for a given lift, be conservative: choose a load you can control and lower safely, choose a variation that lets you bail out, or skip the lift for that session. Keep a phone within reach, and let someone in the household know you are training, especially for heavier sessions.
Children, pets, and other people in the house
A home gym is shared space, even when it feels private: children are drawn to equipment, pets walk underfoot, and another household member may walk through mid-lift.
Store weights, bands, and small equipment out of reach of young children, and never leave a loaded bar or a bench with plates on it unattended where a child could climb or pull on it. Teach older children that the training area is not a play area and that they should not touch equipment, plates, or adjustment pins. If a child or pet enters unexpectedly, pause.
Keep pets out of the training area during sessions where possible, and check the floor for pet toys, bowls, or bedding before you start. Household members and visitors should also know the basic rules: do not touch equipment in use, do not walk through the lifting area, and do not adjust pins, collars, or safeties without being asked.
Storage: put it away properly, every time
Storage is the final safety step, and the one most often skipped. Equipment left on the floor is a trip hazard; plates leaning against a wall can slide and fall; bands left stretched stay under tension and wear faster; a bar left loaded invites someone to grab it without checking the load.
Put equipment away after every session, not at the end of the week. Store plates flat or on a rack designed for them, with heavier items low and stable. Store bars where they cannot roll. Keep bands unstretched and away from heat and sunlight. Keep small items — collars, pins, handles, straps — in one place, so a missing collar is noticed before a lift, not during it. The goal is a training area that is safe to walk through even when no one is training, because that is how it spends most of its time. A dry, temperate storage spot, with equipment clean and dry before it is put away, also slows wear on grips, bands, and finishes.
The home gym safety checklist
Use this section as a printable-style checklist. Work through it when you set up, and run the short version before each session.
Before you buy: The equipment matches a movement you actually plan to do. The room, doorway, delivery size, and storage spot have all been measured. Assembly requirements, included parts, and return terms have been checked on the listing. The item can be assembled, used, and removed without altering the building.
Setting up the space: Training area measured in use, including clearance around and above the equipment. Flooring flat, stable, and non-slip, with no curling edges or sliding mats. Lighting good enough to see the floor, equipment, and obstacles clearly. Ventilation and drinking water available; the area is clear of clutter, cables, and toys.
Before each session: Fasteners, pins, collars, and adjustment mechanisms checked and fully seated. Bands, straps, cables, and grips inspected along their full length for cracks, fraying, or thinning. Moving and load-bearing parts checked for damage, rust, bending, or new looseness. Safety bars, spotter arms, or pins set at the correct height and tested with a light load. Escape route planned for every heavy or demanding lift; phone within reach. Children and pets out of the training area; the floor clear of obstacles.
During training: Load increased in small steps, only when the current load is controlled through the full range. Warm-up completed; any unusual stiffness, soreness, or discomfort taken seriously. Weights lowered under control, never dropped. Session adjusted or stopped on sharp pain, dizziness, chest discomfort, or unusual discomfort.
After training and storage: Equipment wiped down where recommended, and put away after every session. Plates stored flat or racked, heavier items low and stable; bars stored where they cannot roll. Bands stored unstretched, away from heat and sunlight; collars, pins, and handles in one place. Training area left clear, with nothing loaded or leaning.
A home gym done well is not the one with the most equipment. It is the one where the space is measured, the equipment is inspected, the load is progressed patiently, the escape is planned, and everything is put away at the end. Work through this checklist when you set up and run the short version before each session. The HealthGearSpot home-gym mistakes guide covers the buying and planning errors that most often undermine a new home gym.
Disclosure: As an Amazon Associate, HealthGearSpot earns from qualifying purchases made through links on healthgearspot.com. Readers buy on Amazon, not from HealthGearSpot, and prices and availability should be checked on the live Amazon listing before purchase.