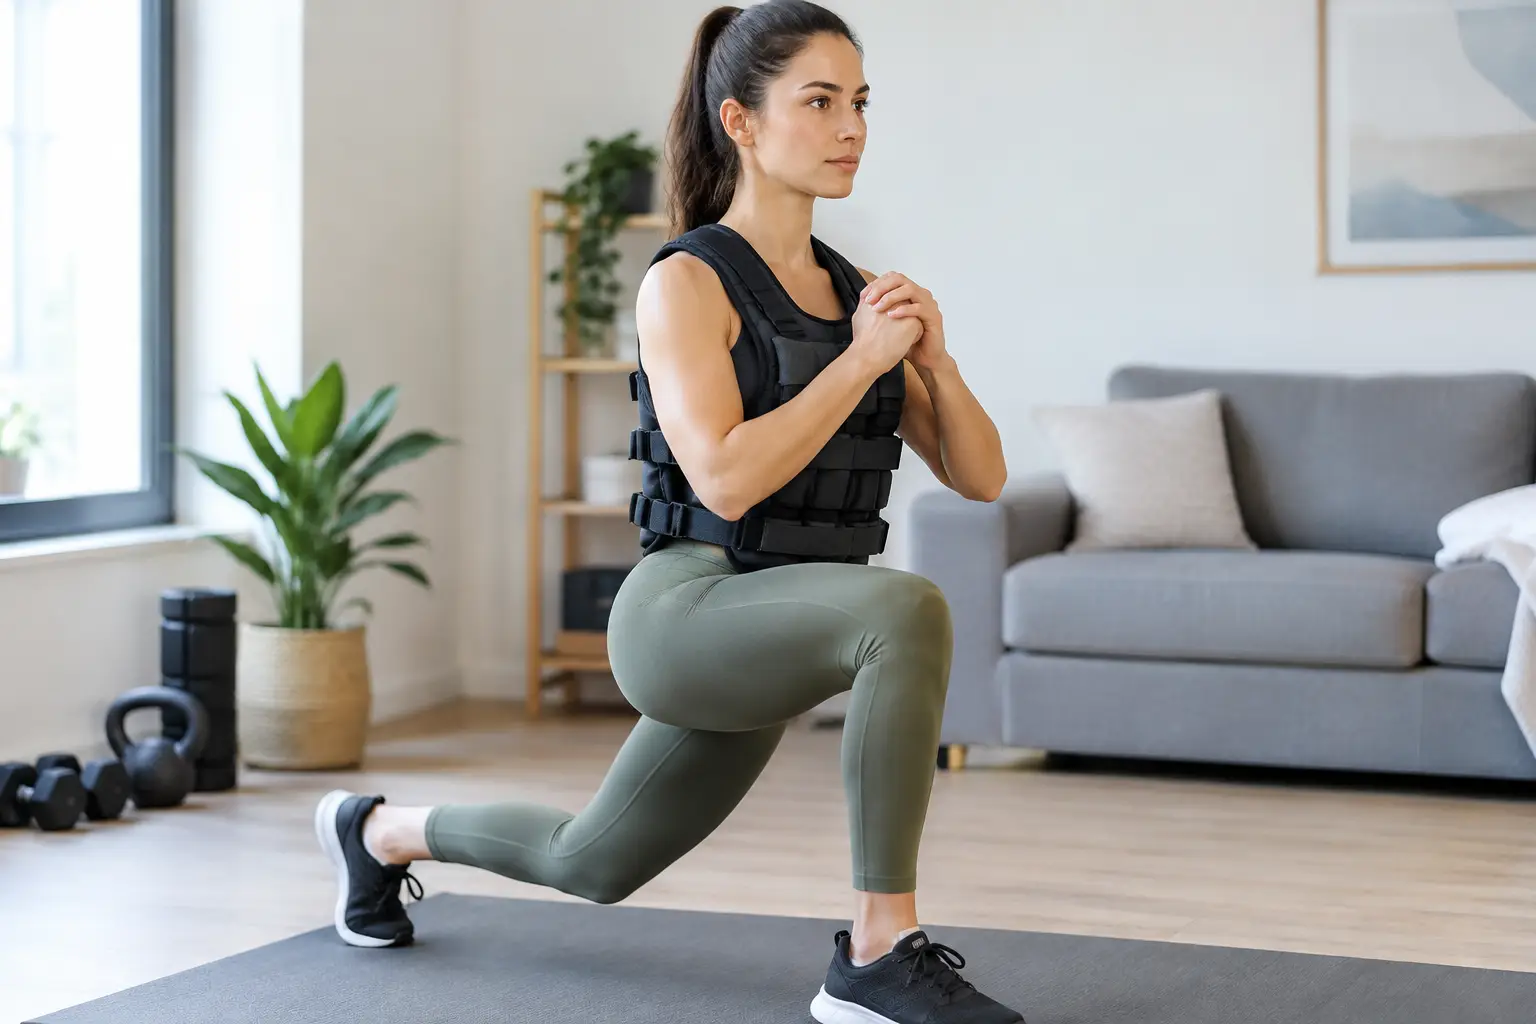
A weight vest can make a familiar home workout feel challenging again without taking up the space of a barbell set or cable machine. But are weight vests safe? For many healthy adults, yes - when the vest fits well, the load is modest, and the exercise matches their current fitness level. The trouble starts when added weight turns good movement into rushed, painful, or poorly controlled reps.
A vest is not automatically a better workout. It is simply a way to increase load during bodyweight movements, walking, stair climbing, and conditioning sessions. Choose it with the same care you would use for adjustable dumbbells: match the gear and the load to your goal, your body, and the room you have to train.
Are Weight Vests Safe for Most Home Exercisers?
Weight vests are generally safe for people with healthy joints, a solid movement base, and no relevant medical restrictions. They can help build muscular endurance, improve bone-loading exercise, raise the difficulty of walking, and add resistance to movements such as squats, step-ups, push-ups, and lunges.
That said, a vest increases the force your body must absorb with every step, landing, and repetition. A 20-pound vest does not just make a walk feel harder. It adds 20 pounds through your feet, ankles, knees, hips, and lower back each time you move. The faster or more explosive the movement, the more that added load matters.
For a home gym, the safest use is usually controlled and low-impact: walking on a level surface, slow step-ups on a stable platform, bodyweight strength work, or incline push-ups. Jumping, sprinting, burpees, and box jumps with a vest require more experience, more space, and a much higher margin of safety.
When a Weight Vest May Not Be a Good Fit
A weight vest is not the right starting point for every routine. If you have current back, neck, hip, knee, ankle, or shoulder pain, adding external load may aggravate the issue rather than help you progress. The same caution applies to people recovering from surgery, dealing with balance limitations, or managing osteoporosis, pelvic-floor symptoms, cardiovascular conditions, or uncontrolled high blood pressure.
Pregnancy and the postpartum period also call for individualized guidance. Changes in balance, breathing, joint comfort, and core control can make a loaded vest less comfortable or less appropriate than other forms of resistance training.
Pain is the clearest signal to stop. Sharp pain, numbness, tingling, unusual shortness of breath, chest discomfort, dizziness, or pain that changes how you move are not signs to push through. Remove the vest and speak with a qualified clinician if symptoms persist or feel concerning.
Even without an injury, consider whether a vest solves a real training need. If regular squats, lunges, and push-ups are already difficult with good form, your next step may be better technique, more consistency, or a lighter resistance option. A set of bands or adjustable dumbbells can be easier to control because you can load individual movements without putting weight on your spine for the entire session.
Start Lighter Than You Think You Need
The biggest safety mistake is treating a weight vest like a challenge to max out. Heavier is not automatically more effective. For general home fitness, beginning with roughly 5% to 10% of body weight is a sensible range for walking and controlled strength work. A 160-pound person, for example, might start with 8 to 16 pounds.
If you are new to loaded exercise, begin at the low end or use an empty vest first. Wear it during a short walk or one basic strength circuit, then assess how your knees, back, shoulders, and feet feel later that day and the following morning. Delayed soreness in muscles can be normal. Joint pain, altered gait, or lingering back discomfort is a sign that the load, exercise choice, or session length needs to come down.
Progress one variable at a time. Add a few minutes to a weighted walk before adding more weight. Improve your squat depth and control before adding sets. If you increase the vest load, keep the workout shorter for a week or two. This approach may feel less exciting, but it is how a vest becomes useful equipment rather than an expensive source of aches.< See our weighted vest vs ankle weights for walking comparison./p>
Fit Matters as Much as the Weight
A poorly fitted vest can shift during movement, rub your shoulders, limit breathing, and pull you out of position. For most home exercisers, an adjustable vest with small removable weight increments is the practical choice. It gives you room to start light and makes the vest useful as your fitness changes.
The vest should sit high and close to the torso without squeezing your ribs. Tighten the side straps enough to prevent bouncing, but not so much that taking a full breath feels difficult. Weight should be distributed evenly across the front and back. If the front-heavy design pulls your shoulders forward or causes neck strain, it is not a good match for longer sessions.
Pay attention to the material and profile, too. A compact vest is easier to use in a low-ceiling basement or spare bedroom where you may be close to walls, furniture, or storage racks. Bulkier tactical-style vests can work well for walking but may feel awkward during floor exercises and push-ups. If your plan is mostly walking, comfort and adjustability matter more than a high maximum capacity.
Choose Exercises That Earn the Added Load
A vest works best when it adds resistance to movements you can already perform with control. Walking, hiking, stair climbing, sit-to-stand reps, split squats, squats, incline push-ups, and step-ups are all reasonable options when scaled to your ability.
For strength training, slow reps are your friend. A three-second lowering phase on a squat or step-up can create plenty of challenge with a light vest. You do not need to turn every workout into a high-impact conditioning test to get results.
Be more selective with exercises that place your body in a less stable position. Push-ups can be effective with a vest, but only if the vest does not slide toward your neck and you can keep your ribs, hips, and shoulders aligned. Planks and mountain climbers may be uncomfortable with certain vest shapes. In those cases, a dumbbell, resistance band, or simply a tougher bodyweight variation may be the safer tool.
Weighted running deserves extra caution. Runners with an established training base may use a light vest occasionally, but it is rarely necessary for general fitness. The repetitive impact can quickly expose weak links in the feet, shins, knees, hips, and lower back. A brisk weighted walk usually delivers a strong conditioning stimulus with less impact and less recovery cost.
Set Up Your Home Space for Safer Sessions
The vest is only one part of the safety equation. Use a flat, uncluttered training area with enough clearance to turn, step back, and get up from the floor. A non-slip exercise mat can improve comfort for floor work, but do not use a thick, unstable surface for step-ups or loaded balance exercises.
For stair or step training, use a platform that does not wobble or slide. Avoid chairs, ottomans, and lightweight benches that were not designed for exercise. Keep water, pets, cords, and loose equipment out of the walking path. These details sound basic, but a small trip hazard becomes more consequential when you are carrying extra load.
Warm up with a few minutes of unweighted movement. March in place, perform bodyweight squats, and test a few step-ups before putting on the vest. At the end of the session, take it off before you are exhausted. Good training should leave you feeling worked, not unstable.
A Practical Way to Add a Vest to Your Routine
Start with two sessions a week and leave at least a day between them. One simple option is a 15- to 20-minute walk with a light vest. Another is two or three controlled rounds of squats, incline push-ups, step-ups, and a short carry or march in place.
Keep the effort at a level where you can speak in short sentences and maintain clean form. If your shoulders hunch, your knees cave inward, your steps become heavy and loud, or you need to hold your breath to finish reps, reduce the load or stop the set. Those are useful coaching cues whether you train in a full garage gym or a small apartment.
A weight vest can be a smart, space-efficient addition to a home setup, especially once bodyweight workouts stop feeling demanding. Choose an adjustable model, load it conservatively, and let strong, comfortable movement decide when you are ready for more.