Picture this: a dropped kettlebell leaves a dime-sized dent in your new hardwood — and it’s your floor, not a gym manager, who has to fix it.
If you’re building a home gym, the quickest route to regret is under-protecting the floor. The good news: protecting floors when building a home gym is straightforward if you match the material and layout to the equipment and intended use. Below is a practical plan that starts with the final result (a durable, low-maintenance workout surface) and walks through choosing materials, planning placement, installation, and common fixes.
What the finished setup should do for you
The right floor system will: absorb impact from dropped weights, spread heavy loads (like power racks) to avoid concentrated dents, reduce vibration and noise for upstairs/neighbor peace, resist moisture from sweat and concrete, and create a stable surface for cardio and lifting. Achieving all five requires picking the correct materials and placing them intentionally.
Match floor protection to your base floor and activities
Start by identifying your base floor (hardwood, engineered wood, tile, vinyl, concrete, or finished garage slab) and your primary activities (free weights, bumper lifting, cardio machines, or bodyweight circuits). Each combination favors different solutions:
- Hardwood / engineered wood + free weights: thick interlocking rubber tiles (0.5–0.75" or thicker) and equipment pads under high-load points.
- Tile or vinyl + cardio machines: continuous treadmill or elliptical mat to prevent sliding and trap sweat; thinner EVA foam under low-impact zones.
- Concrete / garage slab + heavy lifting: dense rubber tiles or a dedicated deadlift/olympic platform to protect the slab and reduce bounce.
- Upstairs rooms + noise concerns: add an acoustic layer (rubber + cork or certified underlayment) to reduce impact noise transmission.
Measure, plan layout, and protect edges
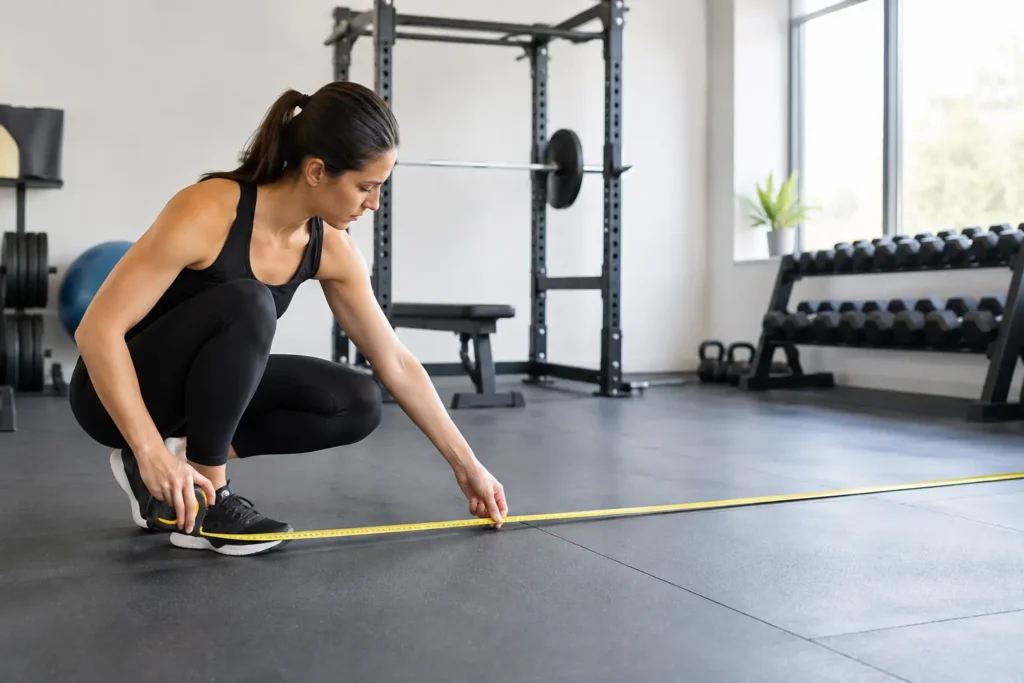
Measure the room and sketch a layout showing the largest items (rack, bench, treadmill). Position the heaviest gear over areas covered by the thickest plates or mats. Avoid leaving thin floor protection under racks’ feet — use steel or rubber equipment pads beneath each foot to spread load.
Protect transition edges between gym floor and home flooring with threshold strips or tapered rubber ramp pieces so tripping and edge peeling are prevented.
Choose materials and why they matter
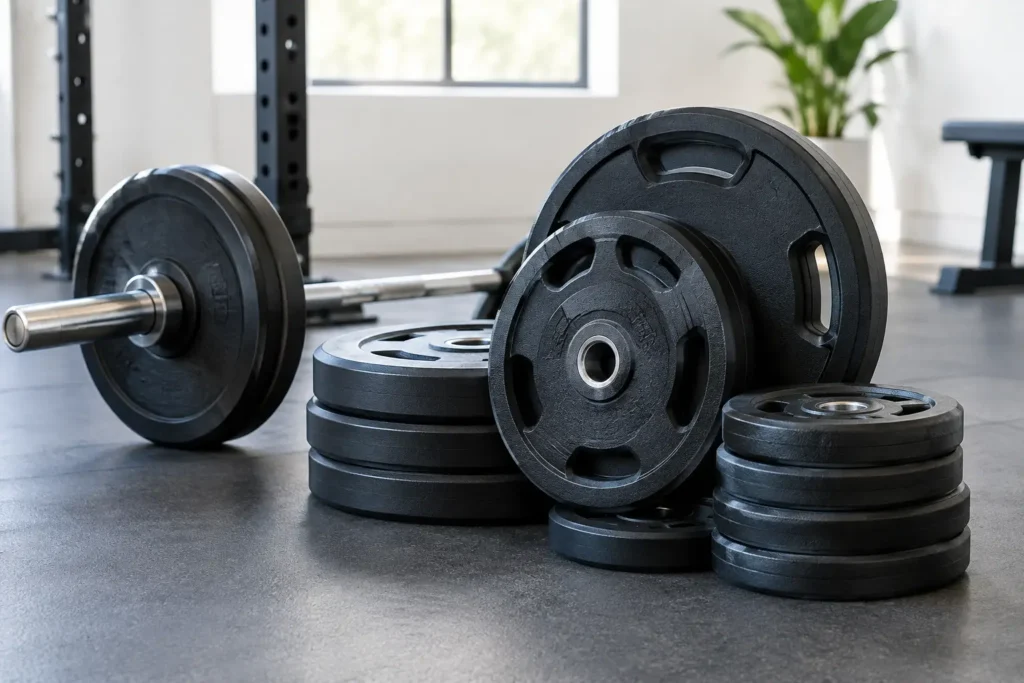
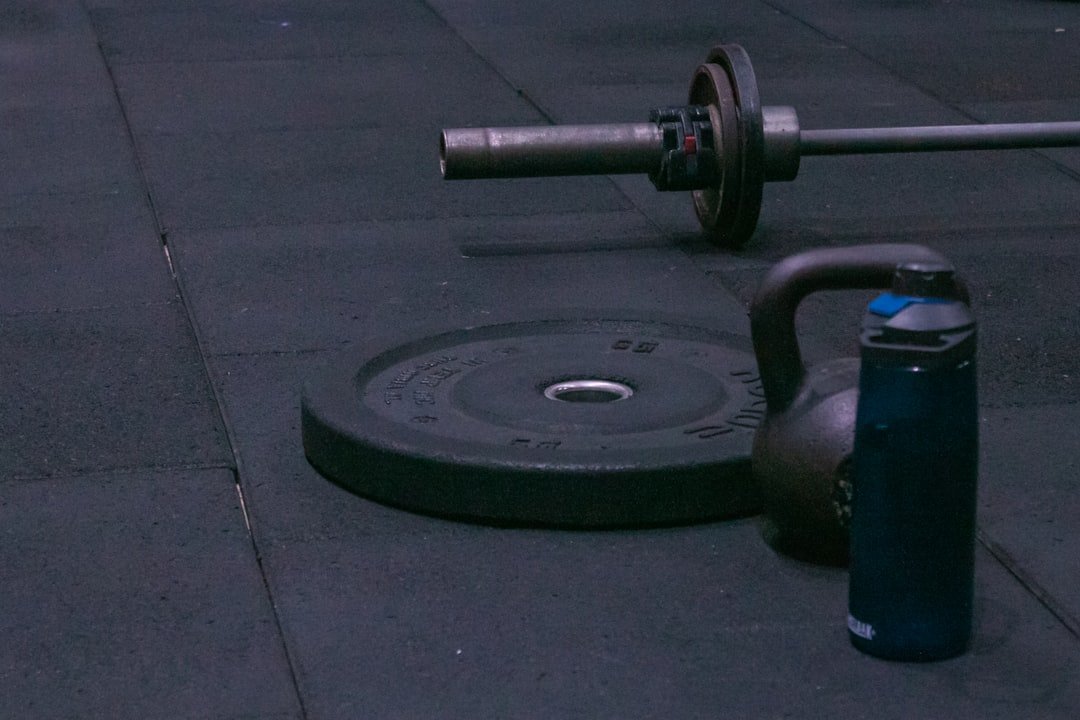
- Interlocking rubber tiles (SBR or EPDM): Durable for dropped weights, easy to replace, and good for modular layouts. Prefer 3/8"–3/4" for general use; 1"+ for frequent heavy dropping.
- Rolled rubber/continuous mats: Best for cardio machines and large open areas where seams would be a nuisance. Thick rolls are excellent for noise reduction.
- Olympic lifting platform: A combination of laminated wood center and rubber surround; ideal if you’ll regularly drop barbells with bumper plates.
- EVA foam tiles: Lightweight and comfortable for bodyweight and stretching, but not recommended under heavy free weights—they compress and dent.
- Equipment pads and rack foot plates: Thin but dense pads (rubber or UHMW plastic) that fit under weight machines and rack feet to distribute force and prevent scratching.
Installation: a practical, orderly approach
- Clear the room and clean the base floor — dirt or grit left underneath will create pressure points.
- If the concrete slab shows moisture or efflorescence, fix moisture first (sealers, vapor barrier) before installing adhesive-backed materials; persistent moisture needs remediation.
- Lay a perimeter of thick tiles under your heaviest gear first (rack, bench). This prevents shifting later when you fit around these anchors.
- Interlock tiles or roll out mats working away from walls; trim only at the end. Use a utility knife and straightedge for clean cuts.
- For upstairs rooms or multi-layer protection, glue an acoustic underlayment to the floor, then place rubber tiles on top following manufacturer instructions.
- Install ramp edges at doorways; bolt or adhere platform sections if required for stability.
Where to spend more — and where to save
Spend on protection where the risk and repair cost is high: directly under racks, lifting platforms, and cardio machines. Thicker rubber under a power rack is worth the investment. Save on peripheral areas where only light activity occurs—EVA tiles or cheaper mats work for stretching/yoga corners.
Product recommendation for most home gyms
If you need a single, high-impact item that solves multiple problems (durability, load distribution, noise), consider a quality interlocking rubber tile or a roll of 0.6" rubber matting sized to your main lifting area. For integrated strength stations, protect each rack foot with pads.
Troubleshooting common problems
Tiles shift or separate under heavy movement
Solution: Add perimeter adhesive or use heavier tiles with tongue-and-groove edges; place anti-slip underlayment beneath the whole layout if the base floor is slick.
Moisture or damp concrete smells under mats
Solution: Remove mats, test concrete moisture, and apply a vapor barrier or concrete sealer. Never trap persistent moisture under impermeable mats long-term.
Upstairs impact noise complaints
Solution: Add an acoustic underlayer (cork or specialized underlay) beneath the rubber, and isolate heavy dropping to a platform with more damping.
- Identify your base floor and primary activities.
- Measure and map largest equipment before buying flooring.
- Choose dense rubber or a platform under heavy lifts; EVA only for low-impact zones.
- Test and mitigate concrete moisture before installing impermeable mats.
- Place equipment pads under rack feet and treadmill contact points.
- Install tapered thresholds at room edges to prevent trips and peeling.
Protecting floors when building a home gym means planning by risk: heavier, impact-prone zones need thicker, denser materials and load-spreading pads; cardio and stretching areas can use continuous mats or foam. Measure first, solve moisture and noise issues, then install modular rubber or a platform where it matters most.
Can I lay rubber tiles directly on hardwood?
Yes, if you use non-adhesive interlocking tiles and a thin slip-resistant underlayment; avoid trapping prolonged moisture and check with your hardwood warranty first. Use thicker tiles under heavy loads.
How thick should gym flooring be for dropped weights?
For regular barbell dropping use 3/4" to 1" rubber or a dedicated lifting platform; occasional drops may be handled by 1/2" tiles if they’re dense EPDM rubber but risks are higher.
Do I need to glue gym tiles down?
Not usually for interlocking tiles on flat surfaces; glue is helpful at perimeters or high-traffic areas to prevent separation, especially on slick subfloors.
How do I reduce treadmill vibration and noise?
Place a continuous anti-vibration mat sized to the treadmill footprint and ensure the machine is leveled; rubber with high density reduces both vibration and floor wear.
Are foam mats a bad idea under free weights?
Foam EVA mats are comfortable but compressible; they will dent under heavy weights and are unsuitable where you’ll set down heavy dumbbells or drop barbells.