A treadmill can look compact in a product photo and still take over a spare bedroom once you account for the deck, rear safety clearance, and a path around it. Before comparing prices or features, take time to measure gym space the way you will actually use it. A few accurate measurements can keep you from buying equipment that blocks a doorway, limits your workouts, or becomes difficult to store.
For most home gyms, the goal is not to fill every open inch. It is to create a room that makes it easy to start a workout, move safely, and put gear away when you are done.
Start With the Room, Not the Equipment
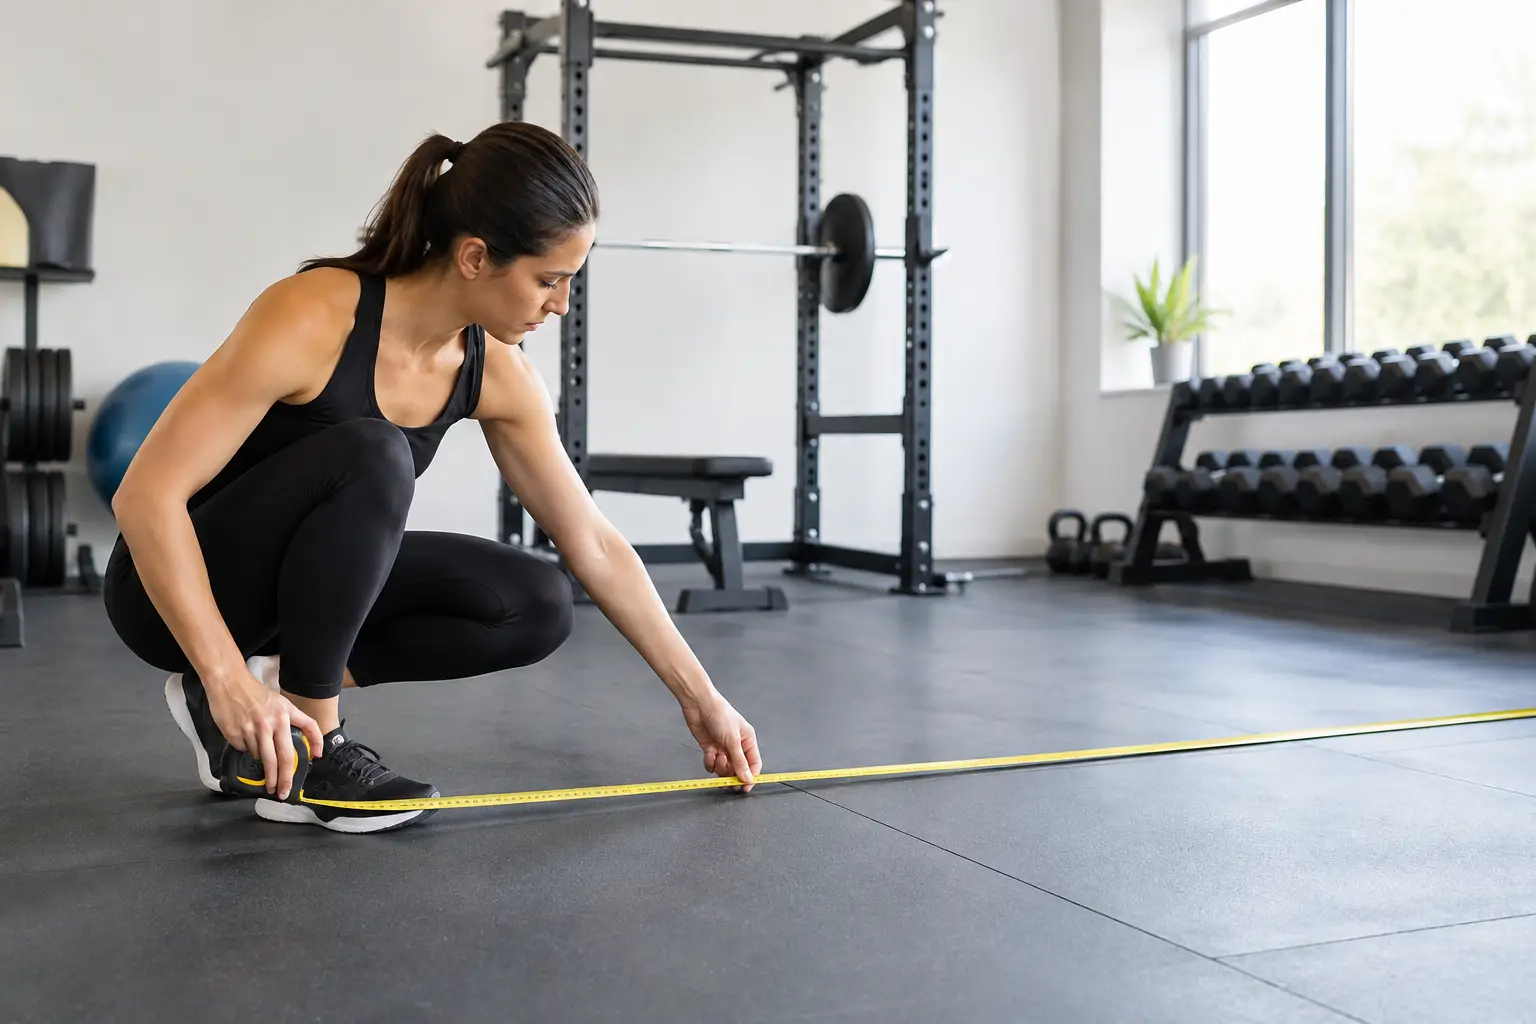
Measure the length and width of the usable floor area with a tape measure. Write down the total square footage, but do not stop there. The room's usable dimensions matter more than the number on a real estate listing.
Mark anything that reduces usable space: doors that swing inward, closet doors, windows, radiators, floor vents, built-in shelving, low ceiling areas, and outlets you may need for powered equipment. A basement corner may technically be 10 by 12 feet, for example, but a support column and a utility panel can make a large section unavailable.
Next, sketch the room on graph paper or use a basic room-planning app. It does not need to be perfect. Include each wall, door swing, window, and fixed obstacle. Measure from wall to wall, then measure around obstacles rather than assuming you can work around them later.
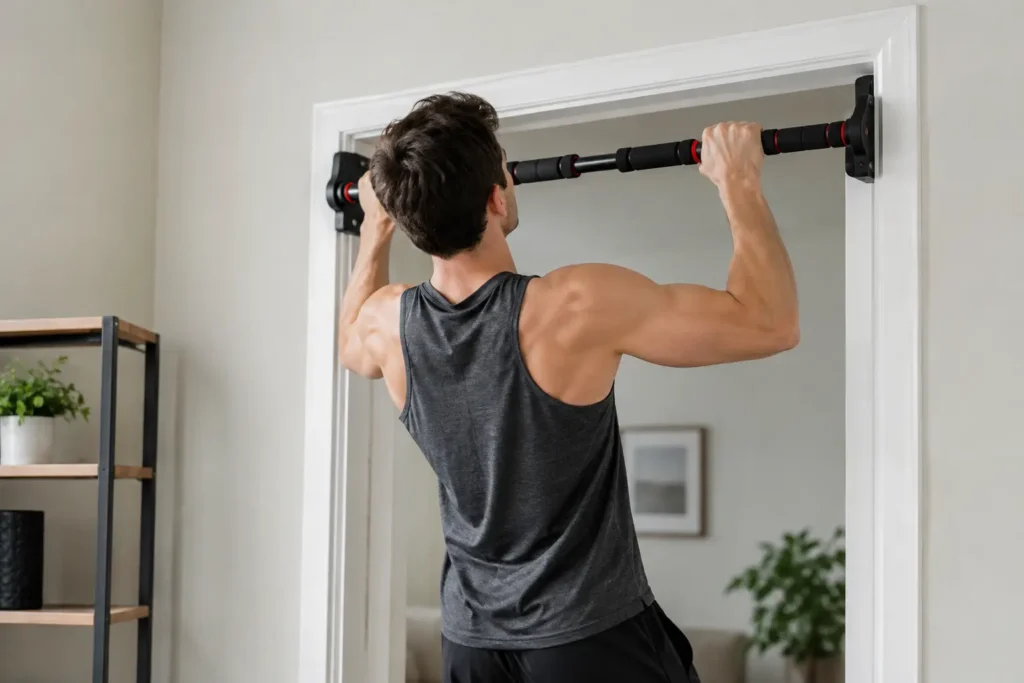
Ceiling height deserves its own note. It is especially relevant for power racks, pull-up bars, cable systems, vertical storage, and overhead lifts. Measure at the lowest point, not just the center of the room. In a garage, basement, or attic conversion, pipes, garage-door tracks, beams, and sloped ceilings often set the real limit.
How to Measure Gym Space for Movement
A machine's listed footprint is only the space it occupies when sitting still. Your workout zone is larger. You need room to get on and off the equipment, change settings, load plates, and move through exercises without bumping into a wall or another piece of gear.
For cardio, check the manufacturer's assembly dimensions and required clearance in the owner's manual before buying. Treadmills generally need open space behind the deck for safety, while ellipticals and rowing machines need room around their moving rails, pedals, or handles. Do not place a treadmill so its rear edge nearly touches a wall simply because the frame fits there.
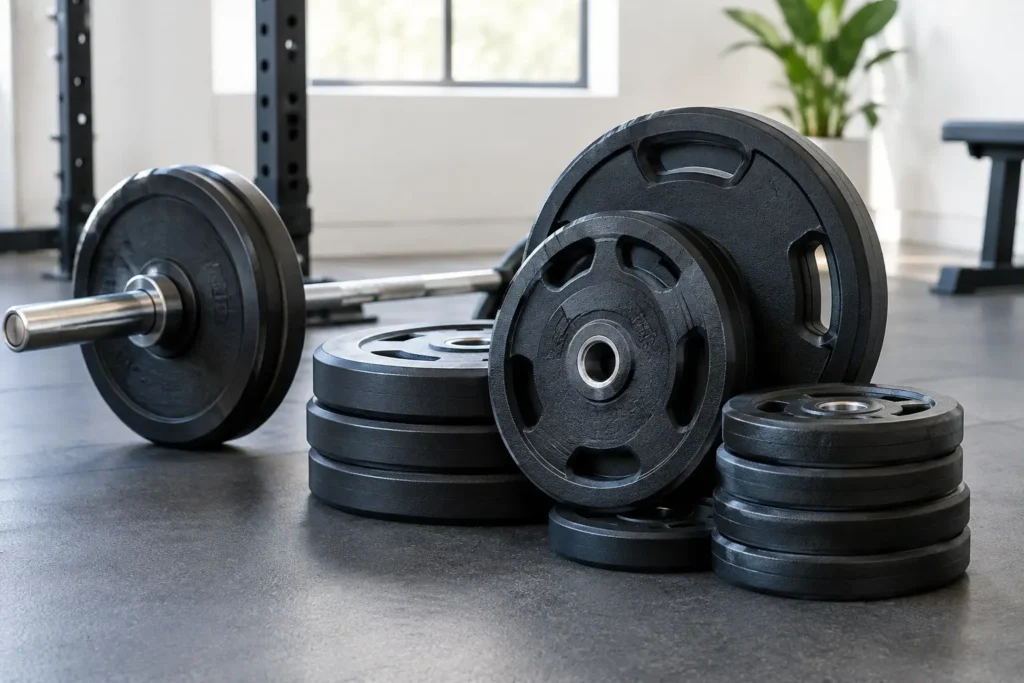
Strength equipment requires a different kind of clearance. A bench may fit in a narrow space, but can you lie down, pick up dumbbells safely, and stand up without twisting around a rack? A barbell setup needs room beyond the rack uprights for the bar itself, plates, and your walking path. If you plan to deadlift, account for the full bar length and enough space to load and unload plates on both sides.
Functional training calls for the largest open zone relative to the equipment's footprint. Lunges, burpees, kettlebell swings, jump rope, yoga flows, and mobility work all need clear floor space. A 6-by-8-foot area is a practical starting point for many mat-based workouts, but your height, exercise selection, and ceiling height can change that. Taller users doing overhead presses, swings, or jumping movements should test their reach before committing to a low-ceiling room.
A simple rule helps: map the gear, then map the person using it. If the second outline does not fit comfortably, the equipment does not truly fit.
Use Painter's Tape Before You Buy
Painters tape is one of the most useful planning tools for a home gym. Once you have the product dimensions, tape its footprint directly onto the floor. Add the clearance area around it in a different color if you have enough tape.
Walk through the layout as if the equipment were already there. Open the door. Carry a laundry basket through the room. Sit down where a rowing machine would go. Step behind the treadmill location. Perform a bodyweight squat, lunge, or overhead reach in the planned training zone.
This test catches problems that measurements alone can miss. You may find that a rack fits but makes it awkward to reach storage shelves, or that an adjustable bench works best on a diagonal rather than parallel to the wall. If the room serves more than one purpose, such as a guest room or garage parking bay, use tape to show the non-gym area too.
Plan for Delivery, Assembly, and Power
Getting equipment into the room is a separate measurement problem. Measure exterior doors, interior doors, stairwells, hallway turns, elevator dimensions, and low-clearance landings. Compare those measurements with the shipping-box dimensions, not only the assembled product size.
Some cardio machines arrive in large, heavy cartons. Racks and cable trainers may arrive in multiple boxes, but individual parts can still be long or awkward. If access is tight, look for equipment designed to fold, break down, or ship in manageable pieces. This may be worth a slightly higher price than paying for a product that is difficult to move or return.
Also identify where powered gear will plug in. Avoid relying on an extension cord stretched across a walking path. If your planned location is far from an outlet, reconsider the layout or talk with a qualified electrician about a safer solution. For apartments and upstairs rooms, consider noise and vibration as part of the plan, not an afterthought.
Match the Layout to Your Training Priorities
The right amount of gym space depends on what you will do most often. A walker or runner may put a treadmill at the center of the room and choose compact dumbbells for supplemental strength work. Someone focused on progressive lifting might reserve the best ceiling height and wall space for a rack, bench, barbell, and plate storage.
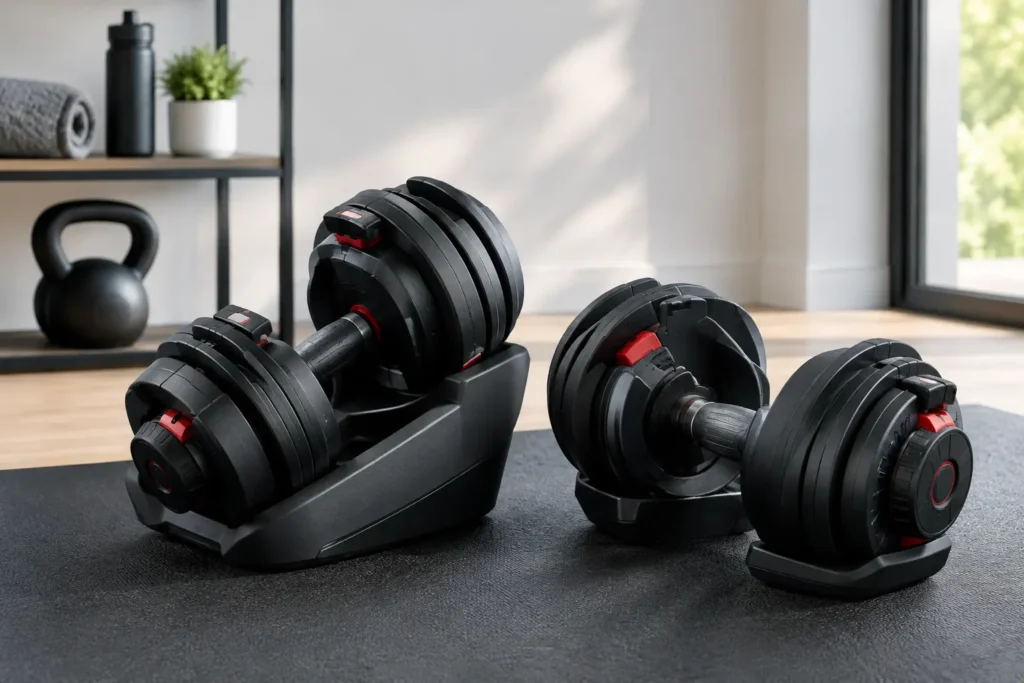
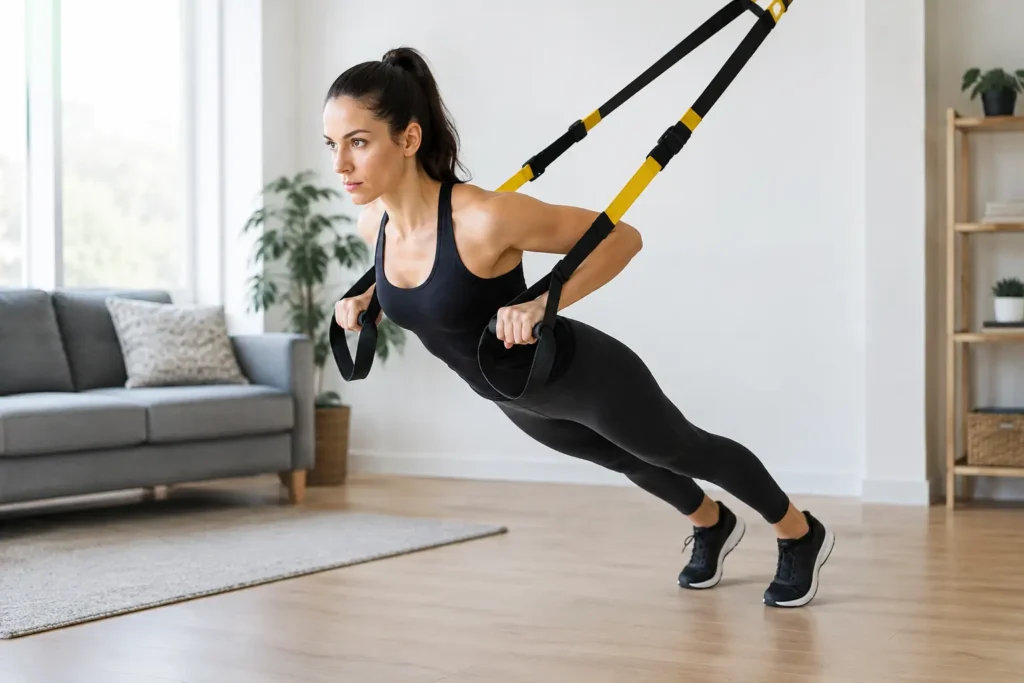
If your routine changes often, favor movable or foldable equipment. Adjustable dumbbells, resistance bands, a folding bench, a suspension trainer, and a quality exercise mat can support a wide range of workouts in a small footprint. This approach can be more useful than squeezing in a large single-purpose machine that leaves no room to train around it.
For a shared household, think about traffic flow. Keep the most frequently used item accessible without moving other gear. Put smaller accessories near the workout area, but not on the floor where they become trip hazards. Storage is not extra space - it is part of the equipment plan.
Do Not Forget Flooring and Storage Space
Flooring changes both the feel and the usable size of your setup. Thick rubber tiles or a lifting platform can protect the surface below and reduce noise, but they add height. That matters beneath a low ceiling and near doors that need to swing freely.
Measure the flooring area based on your full activity zone, not just the equipment feet. A small mat under a bench may protect the floor, but it will not provide a stable surface for loaded dumbbells or standing lifts beside the bench. In a garage, consider whether moisture, dust, or uneven concrete affects where gear should sit.
Then plan where accessories live between sessions. Plates, dumbbells, bands, foam rollers, and yoga blocks spread quickly when storage is an afterthought. A vertical rack, wall-mounted organizer, or compact shelf can reclaim valuable floor area. Just make sure the storage unit itself does not interfere with a door, outlet, or exercise path.
Leave a Little Space Unclaimed
It is tempting to build a room around the maximum amount of equipment your measurements allow. That usually creates a space that feels cramped and gets used less. Leaving one flexible patch of open floor gives you room for warmups, stretching, a new accessory, or simply an easier path through the room.
Measure carefully, compare each product's assembled dimensions and clearance guidance, and test the layout before you order. A home gym that fits your body, routine, and room will deliver more value than a crowded collection of impressive gear.