A suspension trainer can turn a door, ceiling mount, or sturdy outdoor anchor into a full-body workout station. The key to learning how to use a suspension trainer is not collecting a long list of exercises. It is setting it up correctly, controlling your body angle, and starting with movements you can perform with steady form.
For home exercisers, suspension straps offer a lot of training value in a small footprint. They store easily, work for beginner strength sessions and more challenging bodyweight training, and let you adjust resistance without changing weights. Still, the straps are only as safe and effective as the anchor point and the technique behind them.
Start With a Safe Suspension Trainer Setup
Before your first rep, inspect the straps, handles, buckles, carabiners, and anchor loop. Look for fraying, cracked plastic, damaged stitching, or hardware that does not close fully. Do not use a trainer with visible wear, especially if it has been stored outdoors or in a damp garage.
Your anchor point needs to support your full body weight plus the force created when you move. A manufacturer-approved ceiling mount installed into a structural joist is a reliable permanent option. A securely closed, solid door can also work with a door anchor, provided the door swings away from you and is locked. That direction matters: when you pull against the straps, your body weight should press the door more firmly into its frame, not pull it open.
Avoid attaching straps to lightweight interior doors, curtain rods, unstable railings, freestanding pull-up bars that can tip, or furniture. For outdoor training, use a healthy tree branch or a fixed structure that is smooth, solid, and well above head height. Test the setup first by pulling firmly on the handles while standing close to the anchor. Then lean back gradually with both feet on the floor.
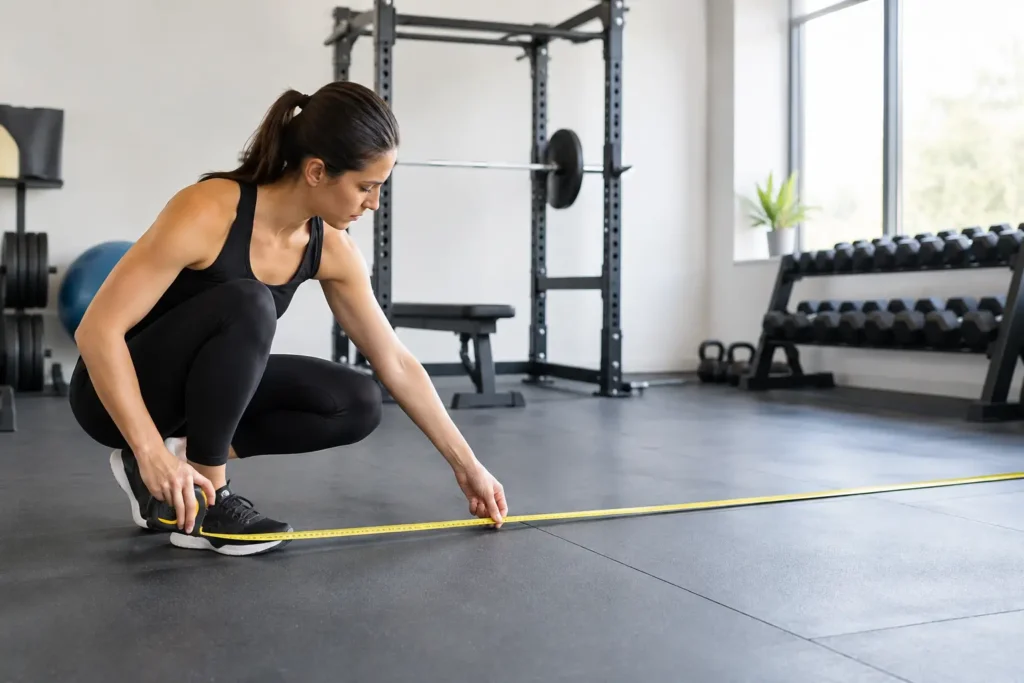
Clear a training area around the straps. You need room to step forward and back without hitting a wall, table, bench, or storage rack. A non-slip exercise mat can make the space more comfortable, although it should not slide under your feet.
How to Use a Suspension Trainer to Adjust Resistance
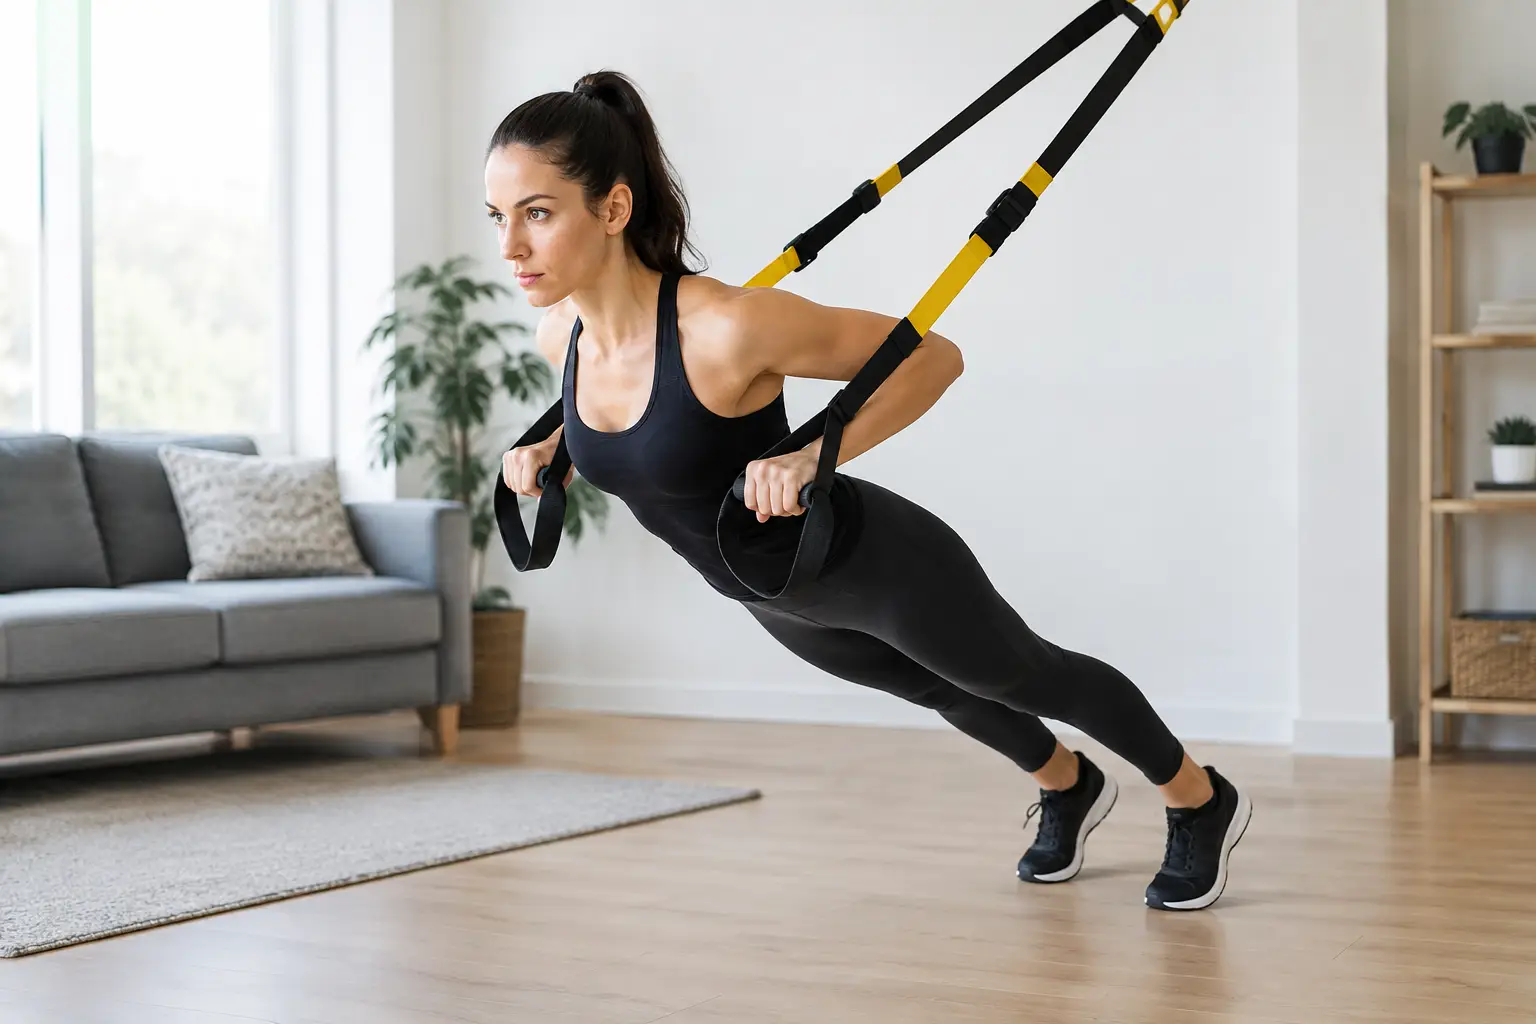
Suspension training resistance comes mostly from your body angle. The more horizontal your body becomes, the more of your body weight you are moving. Stand more upright to make an exercise easier; walk your feet farther toward the anchor to make it harder.
That simple adjustment is what makes a suspension trainer useful for households with different fitness levels. A beginner can perform rows while standing nearly upright. A stronger user can perform the same movement with feet closer to the anchor and a more reclined body position. The exercise stays familiar, but the demand changes.
Strap length also affects setup. For rows, chest presses, squats, and assisted lunges, mid-length straps are usually a practical starting point. For plank variations and hamstring curls, shorten the straps so the foot cradles sit several inches above the floor. Keep both straps even, and make sure the adjustment buckles are locked before each set.
Use the handles as guides rather than something to death-grip. A firm but relaxed grip helps keep your wrists neutral and your shoulders in a stronger position. Keep tension on the straps throughout most exercises. Slack straps can shift suddenly and make balance harder.
Learn the Core Movement Patterns First
Start with controlled basics before adding jumping, single-leg work, or deep range-of-motion exercises. These four movements cover the major patterns most home workouts need.
- Suspension row: Face the anchor, lean back with arms straight, and pull your chest toward the handles. Keep your body in a straight line from head to heels. Think about drawing your shoulder blades down and back instead of shrugging them toward your ears.
- Chest press: Face away from the anchor with your hands in the handles. Lower your chest between your hands, then press the handles away. Keep your ribs from flaring and avoid letting your shoulders roll forward at the bottom.
- Assisted squat: Face the anchor and hold the handles with light tension. Sit your hips down and back, then stand through your whole foot. The straps should help balance you, not pull you through the movement.
- Reverse lunge: Stand facing the anchor and step one foot back. Use the handles lightly for balance while lowering under control. This is an approachable way to build single-leg strength if unsupported lunges feel unstable.
Aim for eight to 12 smooth repetitions per exercise. Stop a set when you can no longer keep your trunk steady, shoulders controlled, or straps evenly loaded. More reps are not automatically better if your form changes halfway through the set.
Build a Simple Full-Body Home Workout
For your first few sessions, train two or three times per week on nonconsecutive days. Start with one or two sets of rows, chest presses, assisted squats, and reverse lunges. Rest about 60 to 90 seconds between sets, especially while you are learning where to place your feet and how much lean is appropriate.
After two or three weeks, progress one variable at a time. You might take a small step farther from upright, add a set, slow the lowering phase, or increase repetitions. Changing everything at once makes it difficult to tell whether you are gaining strength or simply using momentum.
Once the basics feel consistent, add a hamstring curl, high row, triceps extension, or plank with your feet in the foot cradles. Foot-cradle exercises are effective but less forgiving because your body is closer to the floor and the straps can move independently. Begin with a short range of motion and keep your hips from sagging or rotating.
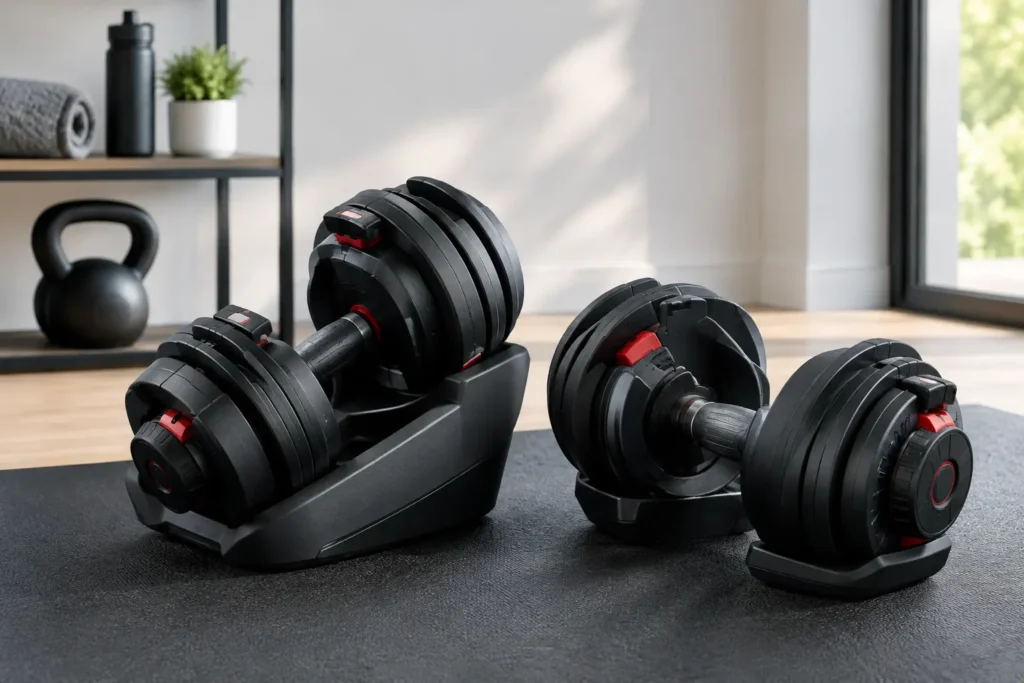
A suspension trainer is not a complete replacement for every piece of home strength equipment. It is excellent for bodyweight pushing, pulling, core stability, mobility-supported movements, and single-leg training. Adjustable dumbbells, a bench, or resistance bands may still make sense if your goal is heavier lower-body loading or consistent progressive resistance beyond bodyweight. The right mix depends on your space, budget, and training goals.
Common Mistakes That Make Straps Less Effective
The most common issue is choosing an anchor that is convenient rather than secure. If there is any doubt about a door, mount, branch, or support structure, choose another location. A few minutes spent checking the setup is worth more than forcing a workout into an unsafe spot.
Another mistake is making every exercise too difficult from the start. Walking farther under the anchor can feel like progress, but only if you can maintain control. If your hips drop during rows, your elbows flare during presses, or you need to yank on the handles to stand from a squat, make the angle easier.
Also avoid twisting the straps around your arms or allowing them to rub repeatedly against sharp edges. After training, wipe away sweat, release any knots, and store the straps out of direct sunlight. Simple care helps preserve the webbing and hardware over time.
Choose a Trainer That Fits Your Space and Plan
When comparing suspension trainers, focus on the anchor options included, stated weight capacity, handle comfort, strap-adjustment hardware, and whether the foot cradles feel secure for your shoe size. A compact model with a dependable door anchor may be enough for an apartment workout area. A dedicated home gym may benefit from a permanent mount and a trainer with more durable handles for frequent use.
Do not pay extra for accessories you will not use. A basic, well-built trainer paired with a safe anchor and enough clear floor space can support years of productive workouts. Start upright, move with control, and let good technique determine when you make the next progression.