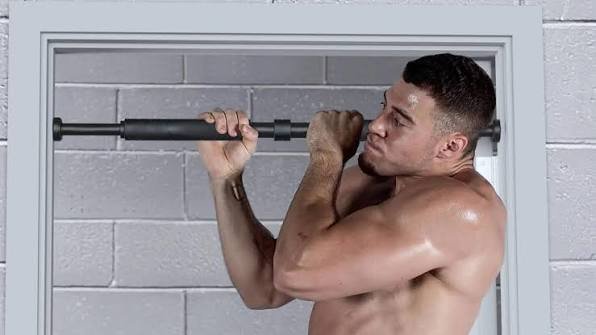
Start by deciding what "safe" means for you
Safety for a pull-up bar primarily means three things: it can hold the loads you'll put through it (your bodyweight plus any added weight), it mounts securely to the building or stands stably on the floor, and it allows full, unobstructed movement without risk of hitting walls, ceiling or hardware. Think through:- Your current weight and whether you'll add weight for weighted pull-ups.
- Where you want to train (doorway, living room, garage, basement ceiling).
- How comfortable you are with drilling into studs or anchors.
- Whether you need portability or a permanent fixture.
Compare bar types by the trade-offs that matter
Each pull-up bar style has distinct safety trade-offs. Pick the style that aligns with your space, strength goals and tolerance for installation work.Doorway (tension or lever) bars — convenient but limited
Why they appeal: quick to install, inexpensive, no drilling for many models. Safety notes:- Tension-mounted doorway bars distribute force against the frame; they can work well for unweighted pull-ups if the door frame is strong and undamaged. But repeated loading can loosen trim or damage drywall—inspect the frame and stop if you see cracking or paint splitting.
- Lever-style doorway bars that hook over the frame can be more stable but still depend on the structural integrity of the jamb and header above the door.
- Always check the manufacturer's load rating and allow a safety margin (prefer a bar rated at least 1.5× your max intended load).
Wall-mounted bars — the best permanent-strength option for studs
Why they appeal: high load capacity, compact footprint, clean look. Safety notes:- Wall bars are only as safe as their anchors. Mount into structural studs or masonry—do not trust drywall anchors alone for heavy loads.
- Use long lag bolts into studs and follow torque specifications. If you have metal studs, consult an installer or choose a different location.
- Wall bars offer a high safety margin for weighted pull-ups and dynamic kipping if properly mounted.
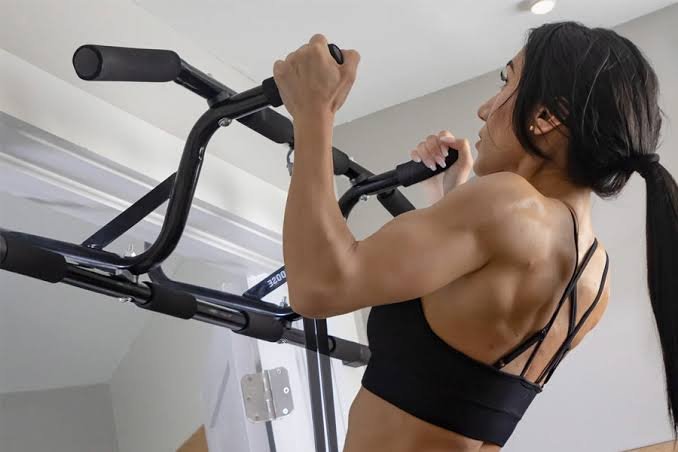
Ceiling-mounted bars — great for clearance but requires joist knowledge
Why they appeal: wide grips, high clearance for muscle-ups or kipping. Safety notes:- Must anchor into ceiling joists—not just the drywall. Identify joist orientation and use through-bolts or proper lag screws.
- Be mindful of any plumbing, wiring or ductwork above the ceiling before drilling.
- Ceiling mounts change the direction of load slightly; choose hardware designed for pull-up loads (swivels, eye-bolts with correct rating).
Freestanding power towers — no drilling but a bigger footprint
Why they appeal: fully self-supporting, often include dip stations and push-up platforms. Safety notes:- Check base width and weight for stability—some narrow towers can tip if you swing or perform explosive moves.
- Placement on a stable, level floor is critical; use anti-slip mats if you have hardwood.
- These towers are excellent for those who can’t or won’t modify walls/doors, but they require storage space when not in use.
Critical specs and checks to verify before buying
Whether you choose doorway, wall, ceiling or freestanding, verify these practical details:- Weight capacity: Look for the rated maximum and add a safety factor. If you weigh 200 lb and plan weighted pull-ups, choose a bar rated for 300+ lb.
- Mounting hardware: Confirm bolts, lag screws or anchors are included and rated. If not, budget for upgrade hardware (longer lag screws, through-bolts, or masonry anchors).
- Grip diameter and style: Standard pull-up grips are ~28–32 mm; choose what fits your hands. Knurled or padded grips affect comfort and slip risk when sweaty.
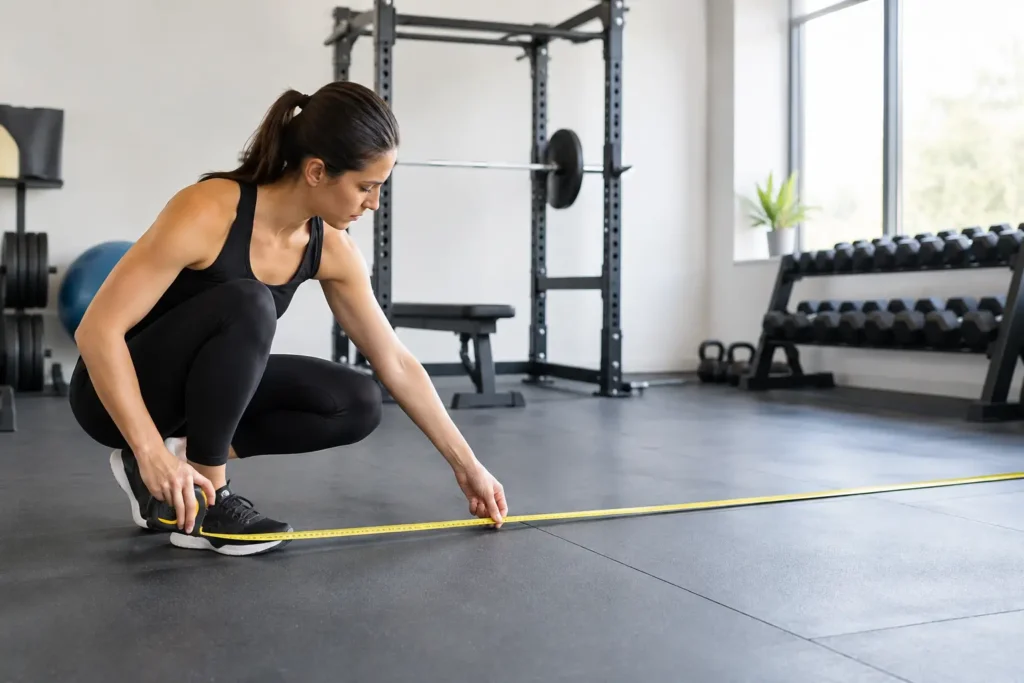
- Clearance and reach: Measure ceiling height and doorway width; you need enough head and leg room for full range of motion and kipping if intended.
- Return policy and warranty: Especially for expensive mounted bars, check return windows and whether the warranty covers mounting failures or only manufacturing defects.
Installation red flags and when to get professional help
Do not attempt DIY mounting if you encounter any of these: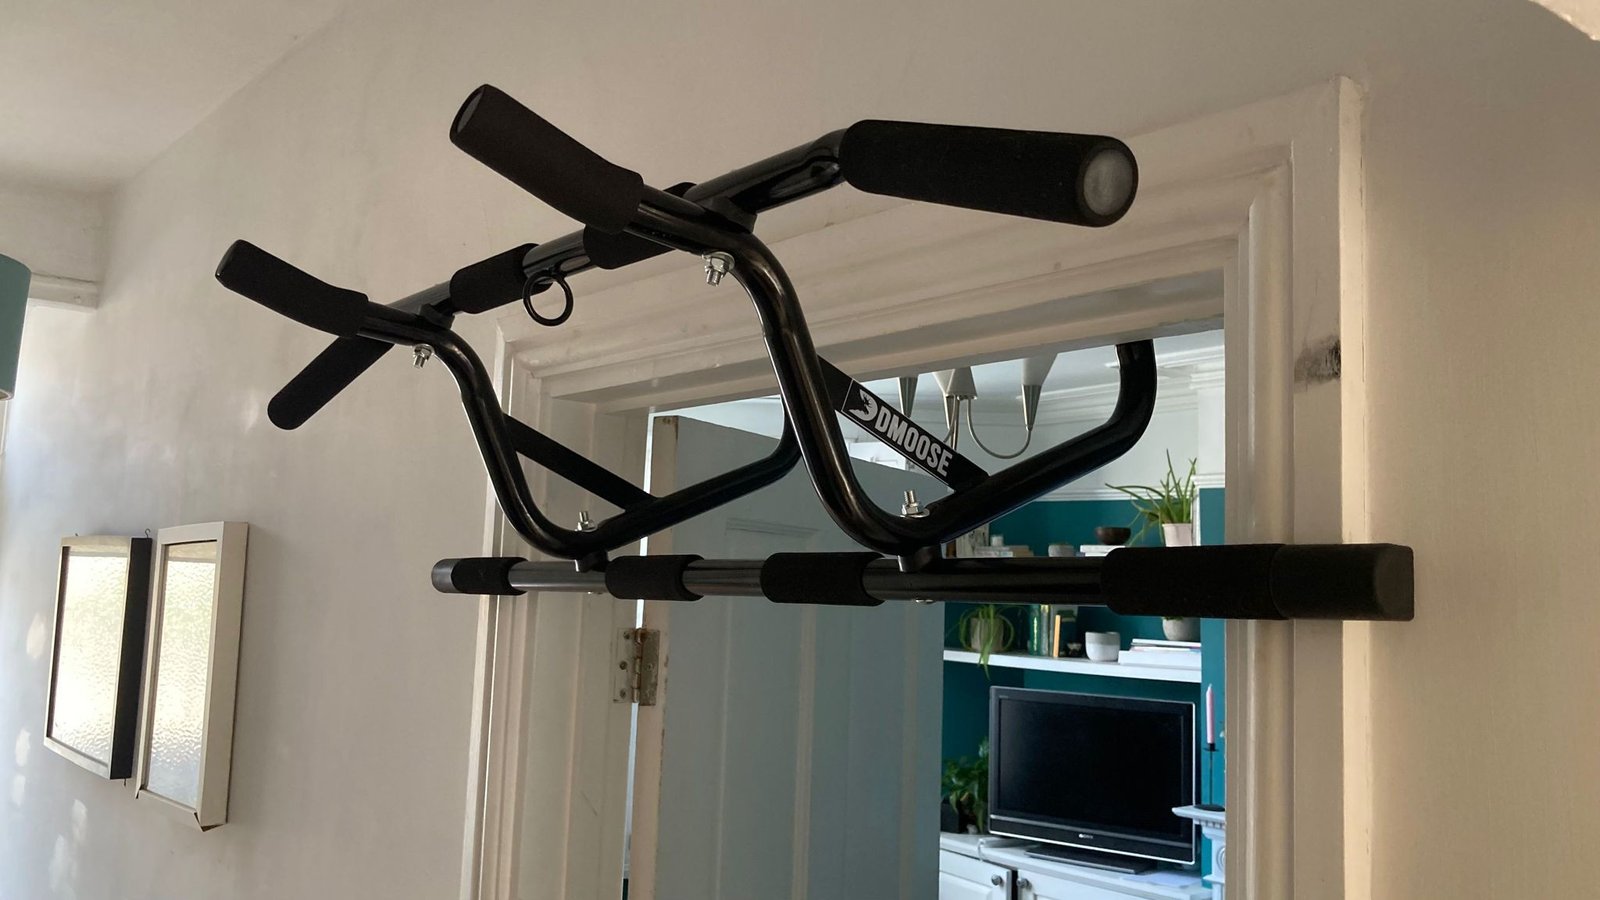
- No accessible studs within the desired mounting zone or only metal studs without proper anchors.
- Old or water-damaged framing—wood that’s soft, split or crumbly can fail under load.
- Uncertainty about hidden utilities in the ceiling or wall area.
- Plans to use heavy added weight or dynamic movements like kipping, where improper mounting is dangerous.
Product recommendations based on the decision points above
Below are practical store picks that fit common safe-use scenarios. Choose the one that matches your mounting willingness and space. For quick doorway workouts without drilling (best for unweighted pull-ups and novices): For a permanent, high-capacity installation in a stud wall or garage—ideal for weighted pull-ups and dynamic moves:Small installation checklist and maintenance to keep the bar safe
After installation, follow a short routine: check for loose bolts monthly, look for frame or paint damage around mounts, and test load gradually before using added weight. If any wobble or creak develops, stop using the bar until inspected.Before you buy and after you install
- Measure ceiling height, doorway width, and floor footprint where you'll train.
- Confirm the bar's rated capacity is ≥1.5× your maximum loaded weight.
- Plan to mount into studs or masonry; budget for proper hardware or pro installation.
- Allow clearance for full range of motion (head, feet, swing) and check nearby obstacles.
- Inspect mounting points monthly and tighten bolts if needed.
Practical takeaway
Choosing a safe pull-up bar is a matter of matching the bar type to your home's structure and your training needs, then verifying load capacity and secure anchors. When in doubt about studs or joists, hire a professional—it's the safest and often most cost-effective choice.
Frequently asked questions
Can I use a tension doorway pull-up bar every day?
Yes for light, unweighted workouts if the door frame is solid, but inspect the frame regularly for cracks or paint flaking; repeated heavy use can damage trim over time.
How much weight capacity do I need?
Choose a bar rated at least 1.5× your max loaded weight (bodyweight plus any added plates or belts) to allow a safety margin for dynamic movements.
Are wall-mounted bars safe for kipping and muscle-ups?
Yes if they’re bolted into structural studs or masonry with appropriate hardware and rated for dynamic loads; improperly anchored wall bars are not safe for those moves.
Can a freestanding tower tip over?
It can if the base is narrow or the tower is lightweight; choose a model with a wide, weighted base and place it on level flooring to reduce tipping risk.
When should I call a pro to install a pull-up bar?
Call a pro if you can’t find suitable studs, if framing looks compromised, or if you plan to use heavy added weight or perform dynamic exercises.