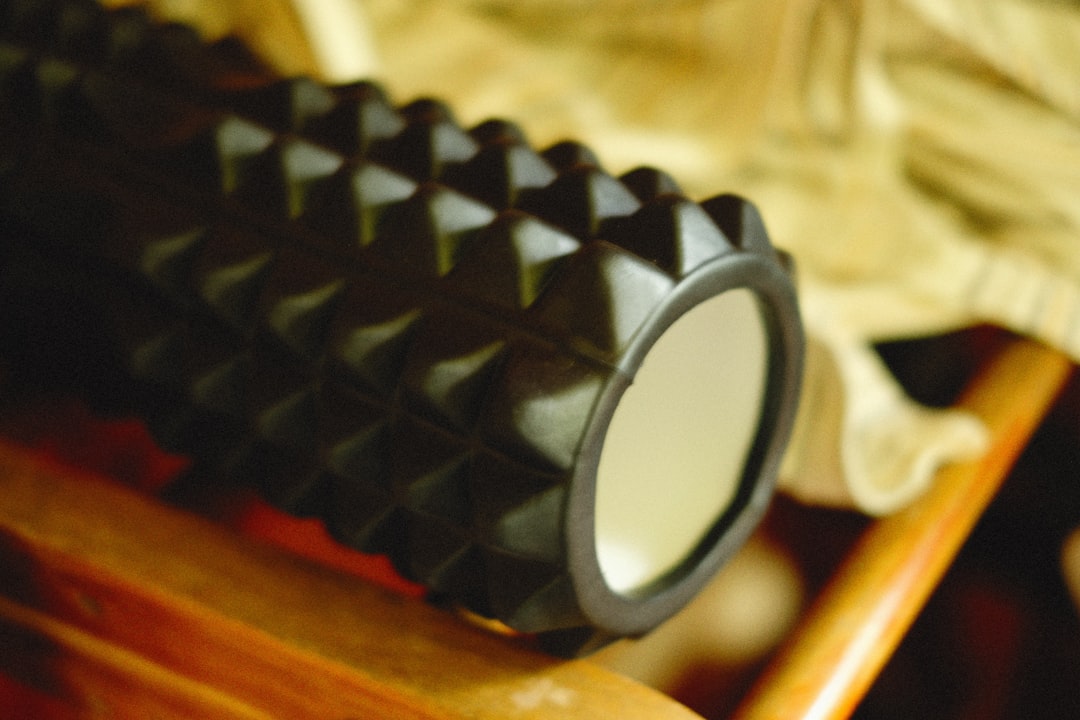
How to Use a Foam Roller Properly After a Workout
Foam rolling is a simple, cost-effective way to improve recovery, reduce muscle tightness, and help restore movement after a tough session. Done correctly, it speeds up cooldown, helps you regain range of motion, and prepares your body for the next workout.
This guide explains when to foam roll, which techniques work best for different muscle groups, common mistakes, and how to pair rolling with other recovery tools so you get the most benefit out of each session.
Why Foam Rolling Matters
Foam rolling uses self-myofascial release to target tight spots and trigger points. Post-workout rolling can lower perceived soreness, improve circulation to tired muscles, and help tissues relax so mobility drills and stretching are more effective.
When to Foam Roll: Timing and Goals
After a workout is often the best time to foam roll because your muscles are warm and more responsive. Focus on a 5–15 minute session aimed at restoring range of motion and easing knots rather than working through pain. If you finished an intense conditioning piece on a Rowing Machines, for example, your hamstrings and lats may benefit from a slightly longer rolling focus.
What You Need to Get Started
Start with a comfortable surface and a stable foam roller. A thin mat adds cushion for sensitive joints and helps prevent slipping while you position for different movements—consider adding a Yoga Mats to your routine setup for comfort and traction.
Choosing the Right Roller and Alternatives
Foam rollers come in soft, medium, and firm densities. Beginners usually prefer softer or medium rollers; more advanced users may use firmer or textured rollers for deeper work. If you want a targeted tool for calves and forearms, a Muscle Roller Sticks are a compact complement that let you control pressure precisely.
Step-by-Step Techniques for Major Muscle Groups
Use slow, controlled motions and spend 20–60 seconds over tight spots, breathing steadily. If a tender spot is especially sensitive, pause and breathe into the area for 20–30 seconds before continuing. Below are practical cues for common areas.
- Calves: Sit with the roller under one calf, hands behind you. Lift hips slightly and roll from ankle to just below the knee. Cross the other leg over for added pressure.
- Hamstrings: Sit with the roller under hamstrings and use your hands for support. Roll from just above the knee to the glute line, breathing through any tender spots.
- Quads: Lie face down and place the roller under your thighs. Use your forearms to move your body forward and back, rolling from hip to knee.
- IT Band (lateral thigh): Side-lying position with the roller under the outside of the thigh. Keep the rolling leg straight and use the opposite leg to control pressure—note this area can be sensitive; work gently.
- Glutes and piriformis: Sit on the roller and cross one ankle over the opposite knee. Lean into the glute of the crossed leg and roll to target deeper hip muscles.
- Thoracic spine (upper back): Lie on the roller placed horizontally under your upper back, knees bent. Support your head and use your legs to roll from the mid- to upper-thoracic region; avoid rolling the lower neck.
Common Mistakes to Avoid
Don’t roll directly over joints (knees, lower back, front of hips) or on acute injuries. Avoid bouncing quickly—slow, deliberate movement is more effective. If pressure causes sharp pain, stop and reassess. Foam rolling isn’t a replacement for medical care if you have persistent or severe pain.
Integrating Foam Rolling With Other Recovery Tools
Roll first to relax tissue, then move into mobility and activation drills. Resistance exercises with light bands can reinforce improved movement patterns after release; keep some Resistance Bands handy to load hips and shoulders with low-grade tension post-roll.
For building stability and core control after addressing tightness, use a Suspension Trainers to gently challenge balance and trunk engagement. These tools help translate increased flexibility into usable strength.
How to Pair Rolling With Strength and Conditioning
Foam rolling complements strength work by improving range of motion needed for full, safe lifts. If your program includes kettlebell swings or goblet squats, spend extra time on hips and hamstrings beforehand; a set of Kettlebells is a common partner for mobility-plus-strength sessions.
After high-intensity conditioning—like short intervals with Battle Ropes—roll major movers used during the work (shoulders, lats, forearms) to help clear metabolic byproducts and reduce stiffness.
Follow-Up Activation Drills
Once you’ve released tight spots, perform 5–10 minutes of light activation: glute bridges, banded lateral walks, or light core circuits using a Medicine Balls for rotational control. Activation helps “set” the new movement quality achieved by rolling so gains are retained.
Quick Checklist
- Warm muscles briefly before rolling (5 minutes light cardio or dynamic movement).
- Choose roller density based on tolerance—start softer if unsure.
- Roll slowly, 20–60 seconds per area; pause on tender spots and breathe.
- Avoid rolling directly on joints and acute injuries.
- Follow rolling with mobility/activation drills to lock in improvements.
- Keep sessions short and consistent—5–15 minutes after most workouts.
FAQ
Q: How long should I foam roll after each workout?
A: Aim for 5–15 minutes total. Target priority areas more deeply and spend less time on areas that feel fine.
Q: Will foam rolling hurt?
A: You may feel discomfort when addressing a tight or knotted spot, but it should not be sharply painful. Use a softer roller or reduce pressure if pain is intense.
Q: Can foam rolling replace stretching?
A: Foam rolling and stretching serve complementary roles. Rolling helps relieve tissue tightness; follow it with targeted mobility or stretching to gain functional range of motion.
Q: How often should I foam roll?
A: For most people, 3–5 times per week or after each workout is useful. Consistency is more important than long occasional sessions.
Q: Is it safe to foam roll a sore muscle the day after?
A: Gentle rolling can help reduce soreness and improve blood flow. Avoid aggressive pressure on severely sore or inflamed areas—use light, supportive rolling instead.
Conclusion
Foam rolling is a practical, effective step in post-workout recovery when done with intention. Keep sessions brief, focus on trouble spots, pair rolling with activation and mobility work, and use the right tools for your needs. Make rolling a consistent part of your cooldown to help reduce tightness, improve movement, and support steady training progress.
